Copy Layers in Photoshop

Have you ever had a situation where you needed to copy the layers in Photoshop from one image file to another? I can’t say I do this often, however, I did have a recent experience where after I had done a significant amount of work removing a trash can from an image only to realize the color profile of the image was of sRGB  and not Adobe RGB or Prophoto which I usually use.  My thoughts were do I let it slide, redo the work or figure out how to get those layers into a different file. The beauty of Photoshop is the multiple ways there are to do something and to Copy Layers in Photoshop is a prefect example.

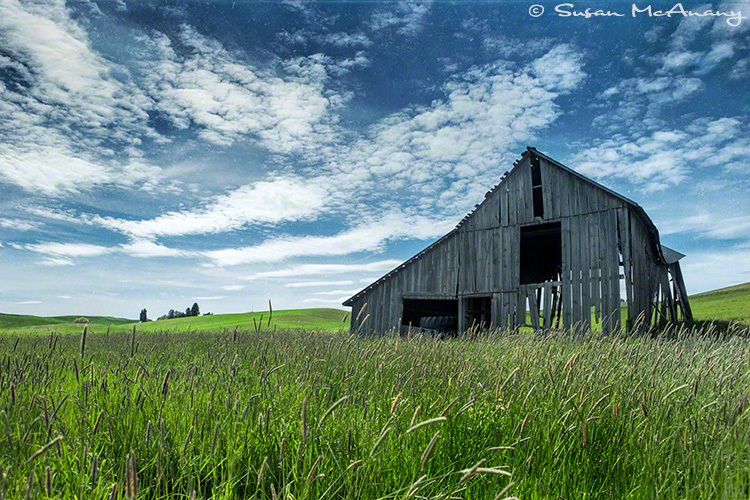
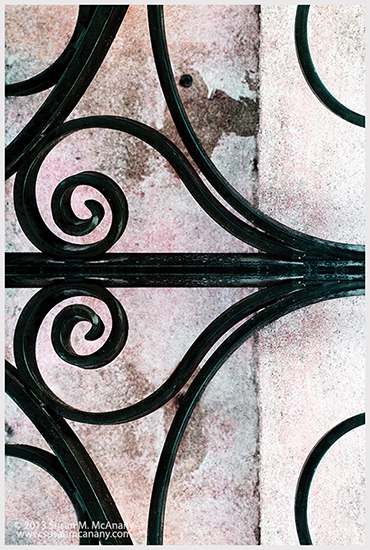
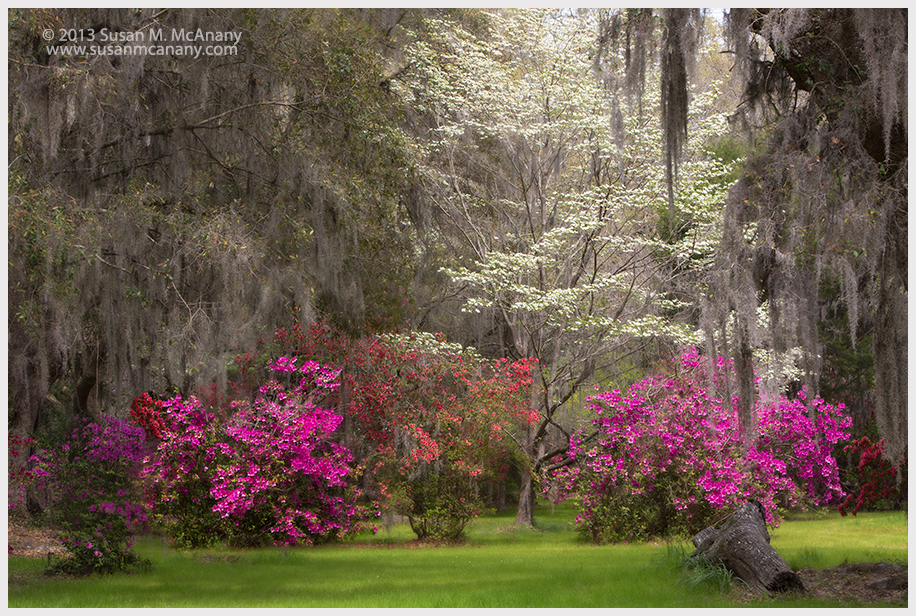
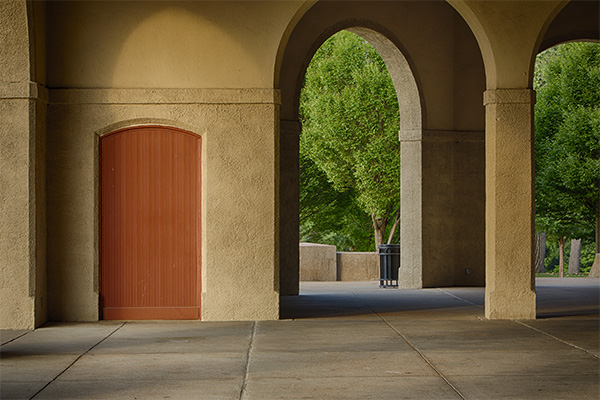
Here is the image with the trashcan.  Removing the trashcan took several layers of copy and pasting different portions of the image to hide it.  It was pretty straight forward.

archesTo copy the layers in Photoshop from one file to another select the layers you want to copy in the Layers Palette. This is easy to do by clicking on the top layer you want to copy, hold down the shift key and click on the bottom layer you want to copy.

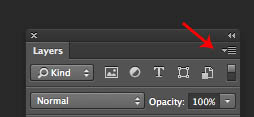
Next, either right-click once the layers that have been selected or click on the tiny down arrow in the upper right hand corner of the layers palette and select Duplicate Layer.

layer optionsYou can also use the Top Toolbar in Photoshop and select Layers > Duplicate Layers.

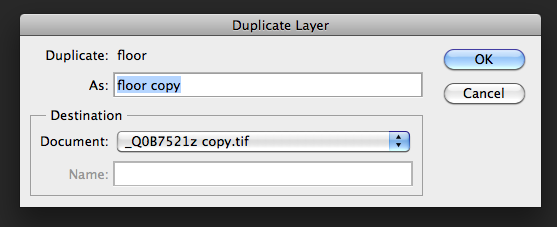
In the Duplicate Layer window, name your layer and select the file under Destination Document name. It is best to have both files open on your desktop so you file names appear.

Duplicate Layer
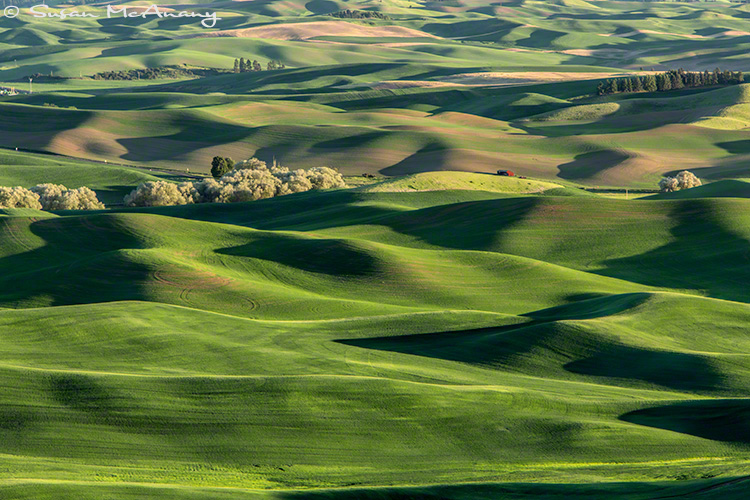
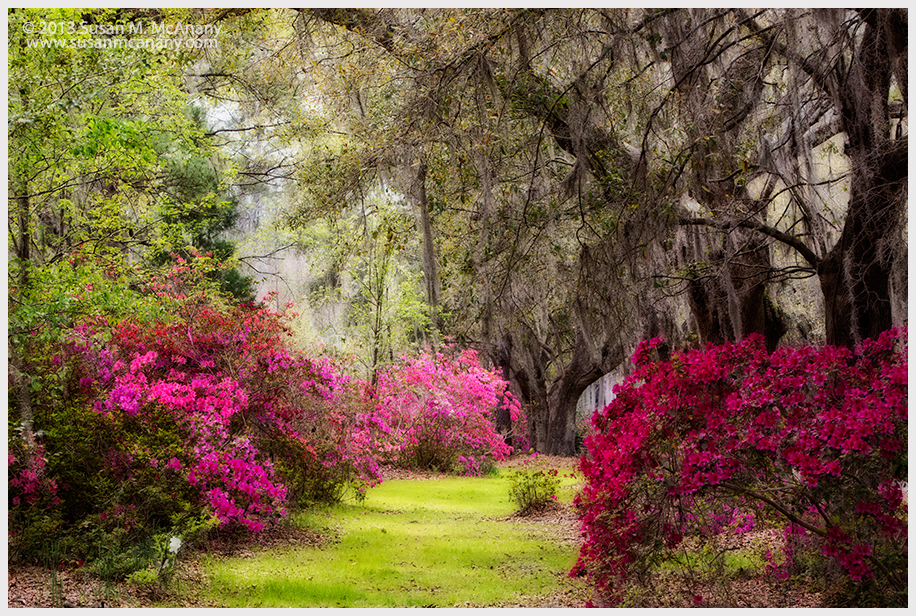
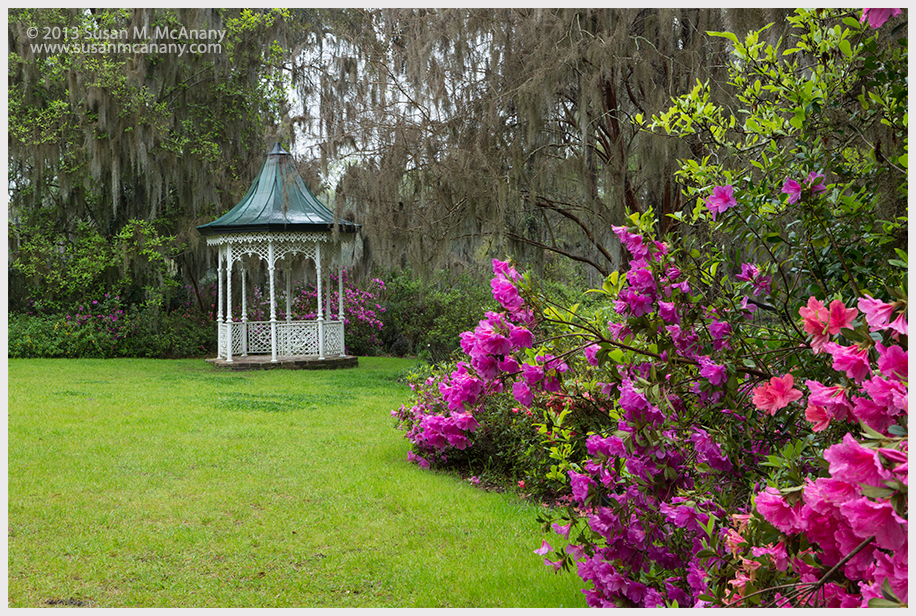
Your layers will then be copied from one image file to the other. You may need to do some masking or adjustments if the details in the second file are not exactly the same. But on the whole this is a very easy way to save a whole lot of work. Here is the image I am currently working on with the trash can removed.

arches with red door

Thanks for reading and you can view more of my work at Susan McAnany Photography.


Clouds Create Fabulous Florida Skies

I sometimes do a lot of complaining about Florida, but one thing I do love is the cloud action that create our fabulous Florida skies in the summer. The heat and humidity in the summer can be borderline unbearable here and often the flat landscape is not too inspiring. However, in the summer during our rainy, stormy season the skies are the most beautiful seen anywhere. I have been working a series of images featuring some if this cloud action that creates the fabulous Florida skies and like any new project comes new challenges. The movement of the clouds and the wide dynamic range are a few of the challenges I am encountering. And then of course the sand if I take a camera to the beach at sunset. This is not something I am inclined to do, however, one night I took the risk and here is what I came up with. I must say it was a spiritual experience that evening. So much so I named this print “Biblical” and the whole experience has made a weather bird out of me. I am constantly on the look out for stormy, cloudy weather and that cloud break up at sunset.

florida sunset sky

© 2013 Susan McAnany

Thanks for reading and looking and be sure to watch a sunset in your area. You may be surprised just how spectacular it is. More of my work can be viewed on my website.


Fabulous Palouse in June

Fabulous Palouse in June was another grand tour with Dan Sniffin and John Barclay and the photo opportunities were wonderful and abundant to say the least. Between the long days, beautiful light and picturesque landscape it would be hard not to get great photographs. The evening light has always been my favorite time to shoot, but in Palouse if clouds are present creating shadows on the rolling hills anytime is a good time for photography. Here are a few of my favorites from the trip.

“Still Standing” – Palouse Area

vintage barn art print photograph

“Rolling Hills” Palouse Farmland

Palouse farmland art print photo

“Stuck In Time”

wedding dress black and white art print

Thanks for looking and more of my work can be viewed at susanmcanany.com.


Create a Vignette in Photoshop

Here is a quick and easy way to create a Vignette in Photoshop using the Elliptical Tool. This Photoshop technique is easy and extremely powerful in bringing the viewers attention to the intended subject.

First either copy your background layer by dragging the Layer to the Create A New Layer button on the bottom the Layer Palette or use the Layer drop down menu at the top of your screen. If there are Adjustment Layers in addition to your background layer, I use the “Merge a copy of all visible layers” (CMD+shift+Option+E/CTRL+shift+Alt+E)

Next, grab your Elliptical Marquee Tool. This is the second tool from the top in your side toolbar and is located along with the Rectangular Marquee Tool. Shift/Click and drag the Elliptical tool across the photo where you want the vignette to appear. This does not have to be exact and may take a few times doing it to get it placed where you want. If you don’t like your first try, just Deselect (cmd/d) and try again.

Feather your selection 250 pixels (Select > Modify > Feather or Shift F6). If you are looking for a more gradual subtle Vignette, may need to repeat the Feathering.

Next Inverse your Selection (Select > Inverse or shift/cmd/I).

Final step to creating a Vignette in Photoshop is to add a Curves Adjustment Layer to darken the edges of the selected area. You can either create the Layer by clicking on the Icon on the bottom of your Layers Palette and select Curves or use the toolbar at the top of Photoshop and select Layer > New Adjustment Layer > Curves. Once the Curves Properties Window is on your screen, in the RGB mode, pull down on the Curve, usually in the center to darken the edges.

Below are sample before and after images so you can see the impact a vignette can make.

Bride's Dream

Create a vignette in Photoshop

 Thanks for reading. More of my work can be viewed at www.susanmcanany.com.


Non Destructive Dodge & Burn in Photoshop

Here lately I have been focusing on taking my Photoshop skills to another level and I came across some great information about how to Dodge and Burn using Photoshop non destructively.  For those of you photographers that have never been in the darkroom, the dodge and burn tools originated there. The concept is to control the light from the enlarger as it hits a piece of photographic paper.  Allowing more light to reach an area of the paper would increase the exposure or darken that area of a photo This technique was called “Burn” or “burning it in”.  Alternatively, you could also block the light from hitting the photo paper using a piece of paper or your hand and this was called “Dodging”.

In Photoshop’s Toolbar there are two tools called the Dodge and Burn Tool and apparently using these two tools are fairly destructive to pixels of an image thus not very good for image quality. If you are concerned with IQ, Here is a quick and easy way to to dodge and burn your image non destructively. It is also good for creating a vignette on an image.

1)   Create a New Blank Layer by going to Layer > New > New Layer or by clicking on the New Layer Icon at the bottom of the Layers Palettenew layer icon photoshop

2)   Fill the layer with 50% grey Edit > Fill . Your image will turn gray at this point. Don’t panic.fill screen photoshop

3)   Create a Layer Mask by clicking the icon on the bottom of the Layers Palette.mask tool icon4)   Invert the Layer Mask  – CMD/I. Your image should now reappear and your mask will turn black.

5)   Select the Brush Tool (b)brush, tool, photoshop

6)    On the Layer Mask, paint with Black in areas you would like to be darker or “burn in”. Use the x key to switch to white and paint any areas you would like to be lighter or “dodge”.

Thanks for reading and more of my work can be viewed on my website or at my Etsy Store.


Spring In Bloom – Charleston Tour with John Barclay and Dan Sniffin

Heart of Iron

Charleston Market_MG_7076

Magnolia Plantation – Simulated (tried to) the infamous “Tony Sweet” filter with Perfect Effects plug in.

Deamy Gardens

This Dogwood was one of my favorites in Magnolia Plantation – Used the High Pass Filter in Photoshop and masking to create a somewhat dreamy effect.

Dogwood In Bloom

Right out of the camera.  Very pretty.

Romantic Garden

I know it got cold but was it snowing??  The swamp area processed with infrared filter in Color Efex.  Thanks for the suggestion Dan.

It's Not Snow

Botany Bay was worth the early wake up call two times. Image was cropped to panoramic.  I believe this image is my favorite of the trip.

Botany Bay Sunrise


Red Tomato – Recent Macro Studio Work

Red Tomato

Red Tomato is another image from my “On Black” series, which comprises of macro work done in my studio. This image was photographed in my studio using a macro lens, a variety of lights and modifiers and using a photographic technique called image stacking to create the final image.  The final image consists of numerous images which were stacked and blended to achieve greater in-focus depth of field.  A texture was added to the background. The image will be professionally printed using the giclée method and will last for decades under proper lighting conditions. The print would be a prefect addition to any home or workplace environment.  More of my work can be viewed at susanmcanany.com or at my Etsy Store. Thanks for taking a look.


Photoshop CS6 – Why did I wait so long?

I finally broke down and purchased  Adobe’s Photoshop CS6 and now I am wondering why I waited so long. Although I spend a lot of time on the computer, I would rather be in the studio than installing and reinstalling software and plugins. That is not high on my priority of things I like to do.  With that said I have to admit I am finding a lot of great new features in Photoshop CS6 and I am sure more to come.  I love the new darker user interface of CS6 and many of the tools seem much more intuitive, like the Crop tool. While keying in your size, it shows a visual of how the Crop will look. From there you can make further adjustments. The Patch tool now has the Content-Aware feature similar to the Healing Brush in Photoshop CS5 and the Mini Bridge will display a filmstrip, which could be helpful with opening images. Although, I tend to open my images directly from Bridge. I need a slightly larger photo than a thumbnail for the selection process. I am eager to see if any enhancements have been made to the Brush tools.

However, the main reasons I upgraded was for better computer performance and I am happy to report my tower is once again a screamer.  Also, I read Adobe will only offer upgrades from the previous version of Photoshop otherwise a new purchase is required or a move to the Cloud, Adobe’s newest marketing idea.  So I figured might as well take the plunge. If you haven’t yet, I think you should also.

Thanks for reading and happy editing!

Check out my fine art prints at www.susanmcanany.com.

Printing Computer Screenshots – The Easy Way to Print a Screen on an Apple Computer

Ever want to print data off a website without all of their header, footer, etc information or maybe a complete webpage or open web pages on your desktop. Well, if you use an Apple computer,  below are a couple of different ways of printing computer screenshots:

1) To select specific areas of the screen, press the CMD/SHIFT/4 keys and you will get a cross hair on your screen. Use your mouse or Wacom to select the area you would like to to print. When you release the click, your selection will be captured to a file on your desktop. You can then send the file to the printer.

2) To print all web pages open on your monitor use CMD/SHIFT/3. Again it will generate a file on your desktop to be sent to the printer.

3) To print one web page of multiple pages open on your desktop press CMD/SHIFT/4, and spacebar. A small camera icon appears that allows you to select which page to send to a file on your desktop. Just send that file to your printer.

Personally, I find the first option most useful when printing computer screeshots and happy to share this information.

To view more of my work, please visit www.susanmcanany.com.