
For quite some time, I have been contemplating creating a digital signature for signing and numbering my prints. Typically, I print on paper allowing an additional half inch on all sides of the print and after I receive the print from printer, I sign on the lower right hand corner of the print. Lately, I have been experimenting with having my work printed on aluminum and plexiglass, thus I wanted to create a digital signature to place on the image prior to printing. After doing some research, I found two different methods. The first involves scanning the signature as a jpg file and manipulating in Photoshop. The second technique is to create a brush of your signature. This is the one I decided on and will go into further detail on the technique.
Creating A Digital Signature
- In Photoshop, create a new blank page file. I found using 3 inches Wide x 2 inches Height; Resolution 300 dpi to work great for prints that are 20 x 30 inches in size. If you are printing smaller or larger you will probably have to experiment with the size of your signature. In addition, you can also use the Transform command to resize the layer once it is on the print. Also, assign the parameters of Color Profile and Bit Size what ever you most commonly use on the file.

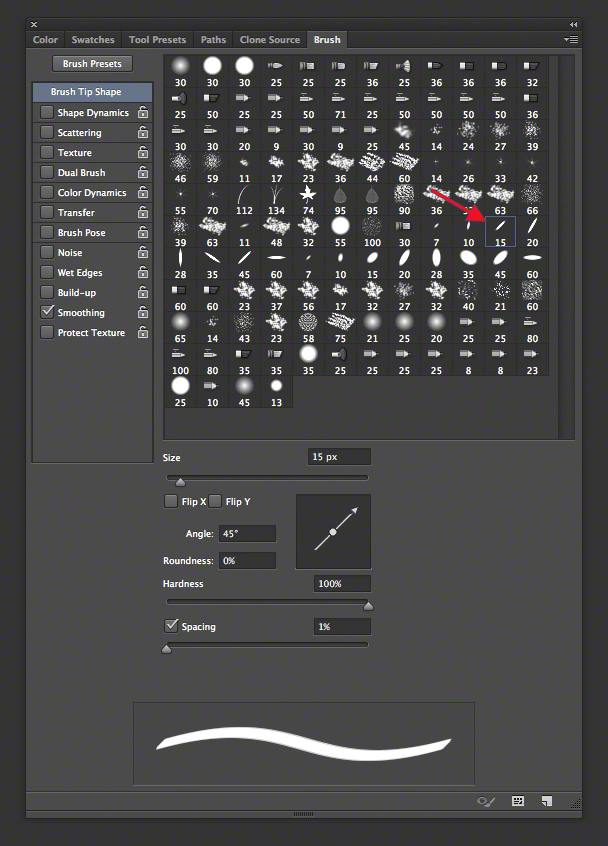
2. Select your brush tool. I used the 15 pixel right slant Calligraphy brush, usually with black paint. Depending on your image you may need a different color for the text to be obvious. If you do not have the Calligraphy brushes imported into Photoshop, you can Append the file and add them from your brush folder.
3. Now comes the fun part. Using your Wacom pen and tablet, write your name on the translucent 3×2 file you created. Be prepared to experiment with this because you probably will not like your first try. Just go back in your History Palette to erase and start over. Once you get your signature the way you want it, save it as a Brush Preset and you will have it ready and available at any time. Actually, I had a lot of fun with this part.

4. To place on an image, just open both files in Photoshop. Drag and drop the layer from your signature file onto your image. From there you can use the Transform tool to resize if necessary and place where you want it.
Whether you are creating a digital signature for fine art prints or using this technique to watermark your images, remember to have fun when you are creating your digital signature. Thanks for reading and check out my work at susanmcanany.com.