“If your pictures aren’t good enough, your not close enough.”
Robert Capa
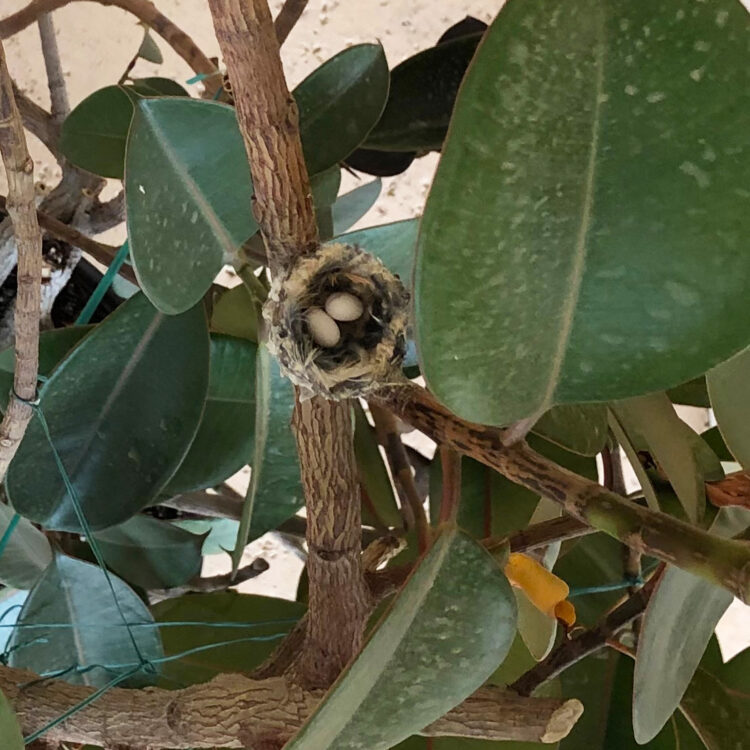
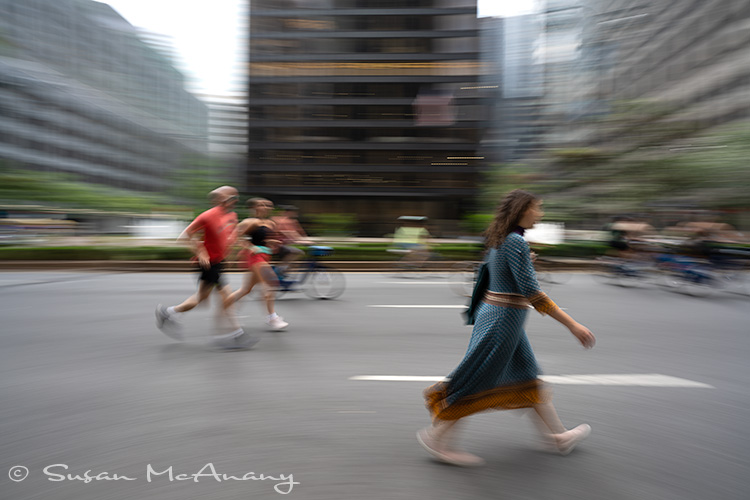
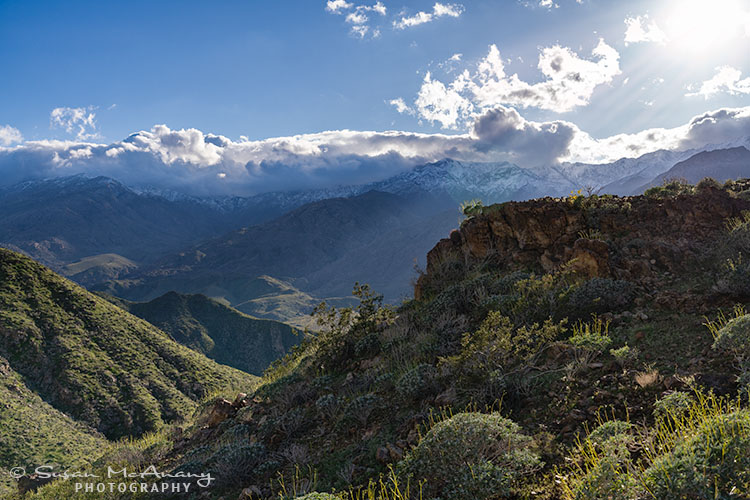
I have tried to shoot with that in mind for all of my photography career. When I saw that quote by Robert Capa, it reminded me once again to fill the frame with your subject. If you can’t fill the frame, then crop it so there is no doubt what the subject is and the story your photo is telling.
Robert Capa, a combat war photo journalist, did just that when he traveled to countless war zones in the 1930s and 40s. From the Spanish Civil war in 1936 to Vietnam war in 1954 (French). Born Endre Ernő Friedmann, in Budapest, Austria-Hungary of Jewish descent. He was studying in Berlin in 1933 when the rise of Nazism broke out. He then migrated to Paris and at the start of World War II, he moved to New York during the height of Jewish persecution. Along the way, he changed his name to Robert Capa and became an American citizen in 1946.
He is know for toting a small camera that would allow him to develop intimate, personal relationships with people and thus powerful images. His work is considered a turning point for photojournalism and war coverage.
Later he embraced 35 mm movie cameras and was involved in several projects, including one with Humphrey Bogert and Truman Capote.
In 1947, he co-founded Magnum Photos with Henry Cartier-Bresson, along with others. Magnum photos is a cooperative photo agency that manages the works of free-lance photographers to international publications. In 1952, he served as President Magnum Photos.
He was killed in 1954 when he stepped on a landmine in Vietnam. He was there for LIFE magazine to photograph the French war in Indochina. He was 41 years old.
What an incredible life and contribution he has made to the photography field, especially combat field coverage. For more information on Robert Capa, check out his Wikipedia page and ICP page.
Thanks for visiting and keep shooting!