
Here is a quick and easy way to create a Vignette in Photoshop using the Elliptical Tool. This Photoshop technique is easy and extremely powerful in bringing the viewers attention to the intended subject.
First either copy your background layer by dragging the Layer to the Create A New Layer button on the bottom the Layer Palette or use the Layer drop down menu at the top of your screen. If there are Adjustment Layers in addition to your background layer, I use the “Merge a copy of all visible layers” (CMD+shift+Option+E/CTRL+shift+Alt+E)
Next, grab your Elliptical Marquee Tool. This is the second tool from the top in your side toolbar and is located along with the Rectangular Marquee Tool. Shift/Click and drag the Elliptical tool across the photo where you want the vignette to appear. This does not have to be exact and may take a few times doing it to get it placed where you want. If you don’t like your first try, just Deselect (cmd/d) and try again.
Feather your selection 250 pixels (Select > Modify > Feather or Shift F6). If you are looking for a more gradual subtle Vignette, may need to repeat the Feathering.
Next Inverse your Selection (Select > Inverse or shift/cmd/I).
Final step to creating a Vignette in Photoshop is to add a Curves Adjustment Layer to darken the edges of the selected area. You can either create the Layer by clicking on the Icon on the bottom of your Layers Palette and select Curves or use the toolbar at the top of Photoshop and select Layer > New Adjustment Layer > Curves. Once the Curves Properties Window is on your screen, in the RGB mode, pull down on the Curve, usually in the center to darken the edges.
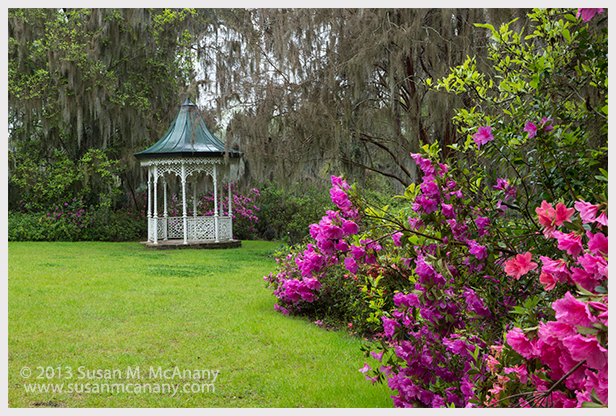
Below are sample before and after images so you can see the impact a vignette can make.

Thanks for reading. More of my work can be viewed at www.susanmcanany.com.