On my last visit to NYC I took to the streets to try some ICM techniques.
There are so many fabulous things about New York City. If you have ever been, I’m sure you will agree. The food is outstanding, the buildings are big and interesting and the quantity and quality of entertainment is found no where else in the world. But another great aspect of NYC is all the people. They come in all shapes, sizes, nationalities and generally pretty darn friendly for a big city.
I’ve been lucky to visit NYC several years in the summer and I always like to stay over for a Saturday. On Saturday mornings the city hosts Summer Streets, which is a pedestrian friendly event. They close miles of a major city street all traffic lanes and open it to pedestrians to walk, ride, skateboard, roller-skate. Any activity that keeps you moving. And along the way they have music and food venues.
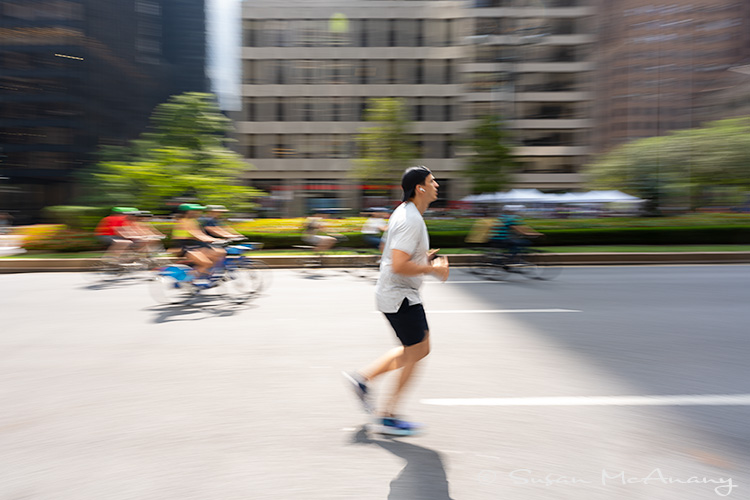
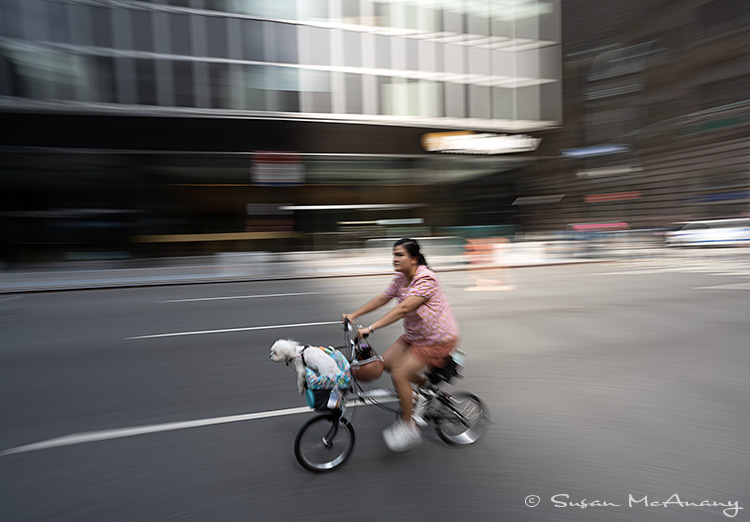
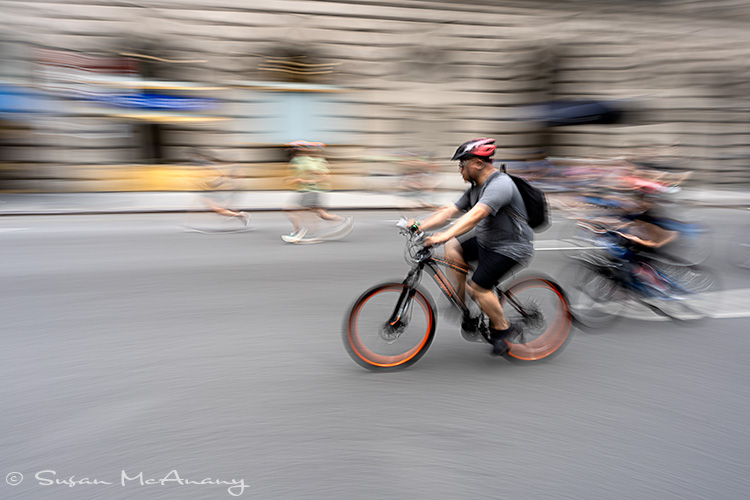
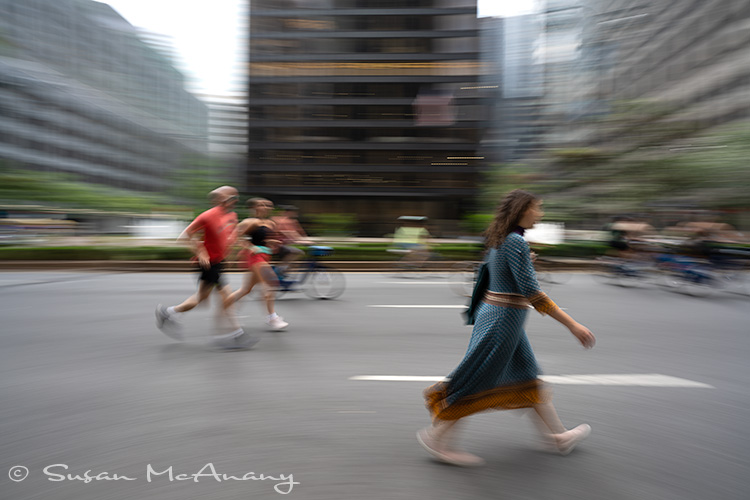
I always like these Saturday mornings and on my last visit I took to a closed Park Avenue to try some ICM techniques with the all the people in motion.
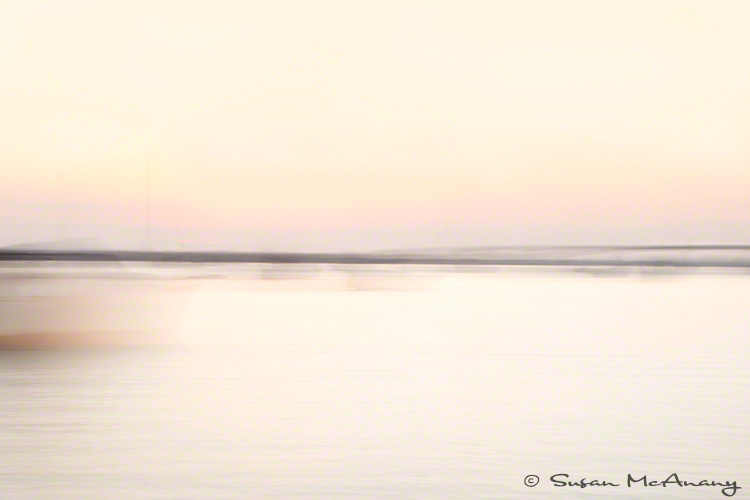
For all of these images, the blur was done in camera with a low ISO (ISO 50) and slow shutter speed (1/4 TO 1/20). The aperture will vary depending on the amount of light. At times, I had a 3 stop Neutral Density filter on. A slight horizontal movement was made with the camera. For these images the movement was horizontal. The technique requires a lot of snaps to get a keeper and I still need a lot of practice.
ICM Images
Post Processing
I use Bridge, Camera Raw and Photoshop as my primary post processing software. I know many people use Lightroom and I am sure you can do many of the same operations in Lightroom.
From Bridge, I take the Raw image into Camera Raw and make my usual edits.
Next, I open in Photoshop and copy my Background Layer. I then review the image and fix anything that needs fixing. This could be a sensor spot cleanup or cropping of image.
If needed, I add a Levels or Curve Layer to adjust the dark and light areas of the image.
Next, I merge the Layers by selected all layers, holding down the alt/option key and going to Layers > Merge Visible. This will create another Layer on top of your other Layers. This layer will contain all of the edits previously performed, however, you will no longer be able to edit the layers below the merged layer. Unless of course you delete the merged layer, then you still have access to all your work. I recommend you immediately rename this layer. It can get confusing.
From here, I applied a High Pass Filter to the merged layer (Filter>Other>High Pass). For these images, I used a Radius of 12. Don’t be alarmed when your layer turns gray. Just change the Layer Type in the Layers Palette from Normal to Overlay or any of the other types that look interesting to you.
The High Pass Filter is a form of sharpening filter. If you don’t want the filter effect on the whole image, convert the merged layer to a Smart Object (Layer>Smart Object>Convert to Smart Object), apply the High Pass Filter to the Smart Object Layer, add and invert the mask and with a brush apply the sharpening (High Pass Filter) to specific areas.
You can also just take the merged layer of your image into Nik, Topaz or any number of third party pieces of software to obtain any your vision.
I hope you found this interesting info and I thank you for reading!
It is always fun to try new techniques. Keep shooting.
More of my work can be viewed at susanmcanany.com.