Tag Archives: mcanany

Fabulous Palouse in June

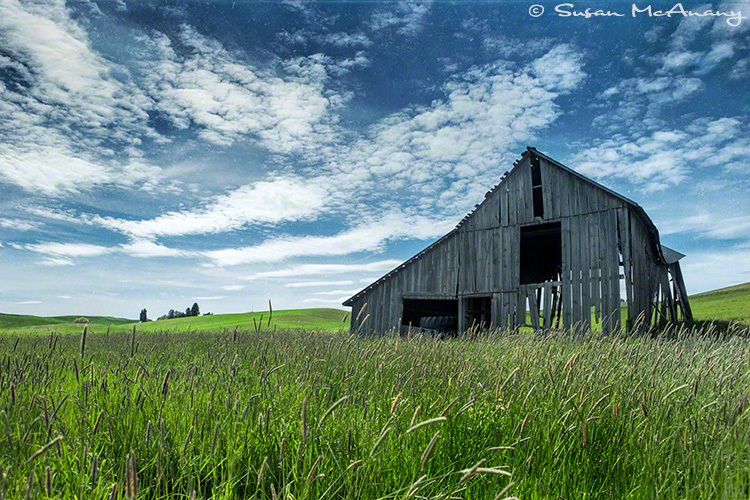
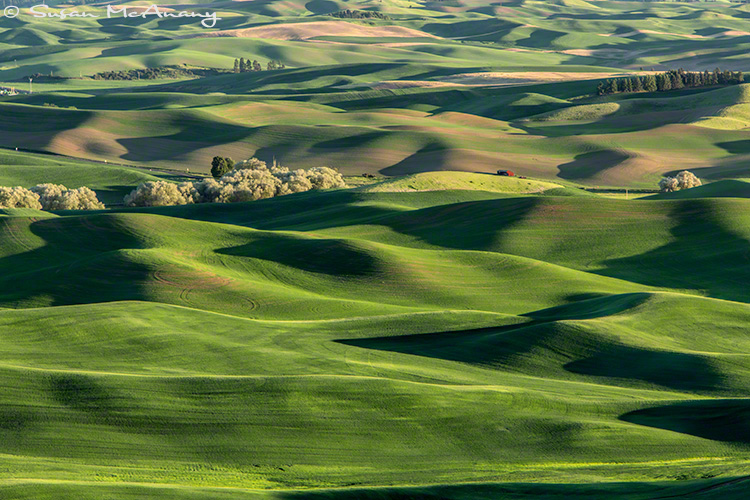
Fabulous Palouse in June was another grand tour with Dan Sniffin and John Barclay and the photo opportunities were wonderful and abundant to say the least. Between the long days, beautiful light and picturesque landscape it would be hard not to get great photographs. The evening light has always been my favorite time to shoot, but in Palouse if clouds are present creating shadows on the rolling hills anytime is a good time for photography. Here are a few of my favorites from the trip.

“Still Standing” – Palouse Area

vintage barn art print photograph

“Rolling Hills” Palouse Farmland

Palouse farmland art print photo

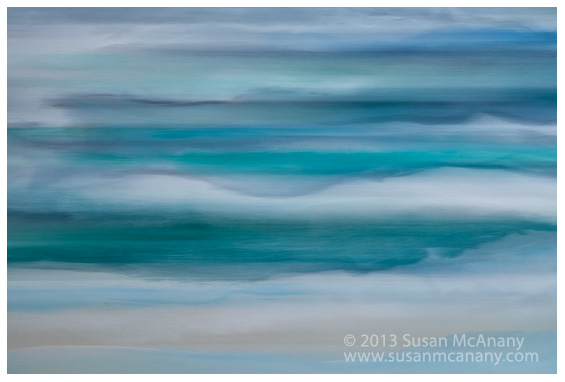
“Stuck In Time”

wedding dress black and white art print

Thanks for looking and more of my work can be viewed at susanmcanany.com.


Photoshop CS6 – Why did I wait so long?

I finally broke down and purchased  Adobe’s Photoshop CS6 and now I am wondering why I waited so long. Although I spend a lot of time on the computer, I would rather be in the studio than installing and reinstalling software and plugins. That is not high on my priority of things I like to do.  With that said I have to admit I am finding a lot of great new features in Photoshop CS6 and I am sure more to come.  I love the new darker user interface of CS6 and many of the tools seem much more intuitive, like the Crop tool. While keying in your size, it shows a visual of how the Crop will look. From there you can make further adjustments. The Patch tool now has the Content-Aware feature similar to the Healing Brush in Photoshop CS5 and the Mini Bridge will display a filmstrip, which could be helpful with opening images. Although, I tend to open my images directly from Bridge. I need a slightly larger photo than a thumbnail for the selection process. I am eager to see if any enhancements have been made to the Brush tools.

However, the main reasons I upgraded was for better computer performance and I am happy to report my tower is once again a screamer.  Also, I read Adobe will only offer upgrades from the previous version of Photoshop otherwise a new purchase is required or a move to the Cloud, Adobe’s newest marketing idea.  So I figured might as well take the plunge. If you haven’t yet, I think you should also.

Thanks for reading and happy editing!

Check out my fine art prints at www.susanmcanany.com.

Printing Computer Screenshots – The Easy Way to Print a Screen on an Apple Computer

Ever want to print data off a website without all of their header, footer, etc information or maybe a complete webpage or open web pages on your desktop. Well, if you use an Apple computer,  below are a couple of different ways of printing computer screenshots:

1) To select specific areas of the screen, press the CMD/SHIFT/4 keys and you will get a cross hair on your screen. Use your mouse or Wacom to select the area you would like to to print. When you release the click, your selection will be captured to a file on your desktop. You can then send the file to the printer.

2) To print all web pages open on your monitor use CMD/SHIFT/3. Again it will generate a file on your desktop to be sent to the printer.

3) To print one web page of multiple pages open on your desktop press CMD/SHIFT/4, and spacebar. A small camera icon appears that allows you to select which page to send to a file on your desktop. Just send that file to your printer.

Personally, I find the first option most useful when printing computer screeshots and happy to share this information.

To view more of my work, please visit www.susanmcanany.com.


New Year

2012 went by quick. Looking back, I am thankful for all of the experiences that came my way, photographic and otherwise. I am especially thankful for new inspirations and ideas and some great photographic workshops and seminars I attended. Thanks to the fabulous photographers that put them on. All of it has helped me craft my vision and define my style of photography. And much fun along the way.

Looking to the future and 2013, I already have several exciting trips planned and can see opportunity for my work to grow even more and in different directions. I plan to post more Photoshop hints and tips on the blog, along with samples of new work. So check back often.

I wish you all good health, great treasures and much happiness this year!

Creative Work in the Studio

Creative work in my studio is proving once again that I am attracted to shooting inanimate stuff creatively earning me the name of “object chick”.

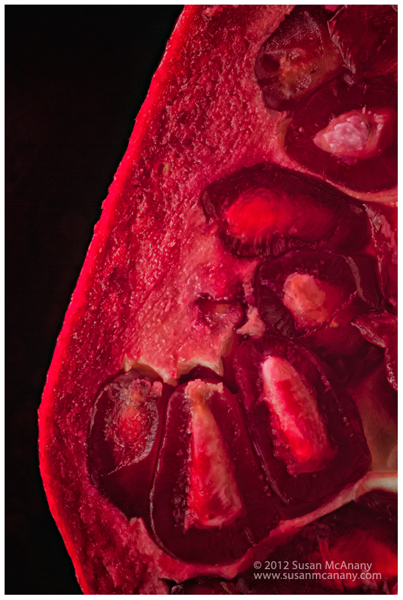
I am working on a new series of prints and one thing I am discovering  is I really do love working  in my studio and creating art out of something very mundane or ordinary. If I like the results (and often I don’t), I feel like I have hit the jackpot. Someone very dear to me once said “You are really are an object chick” and it got me thinking that some of my best work has come out of my studio doing tabletop work. Maybe the benefits of having complete control of subject and surroundings allows me to really create from deep within. Maybe I just enjoy having all my toys available in one room. Whatever the reason,  I am happy I am in a zone and here is one piece I have been working on lately. The pomegranate was photographed with my MP-E65 super macro lens mounted on Really Right Stuff’s Focus Rail and is a combination of 9 captures.  Thanks for stopping by and more of my work can be viewed at Susan McAnany Photography.

object chick shoots pomegranate


Adobe Photoshop Blending Modes Shortcut Key

Toggling through Adobe Photoshop Blending Modes using a shortcut key is very useful and easy to do.  Here lately, I have been making a conscious effort to streamline some of my keystrokes while working in Adobe Photoshop by using the shortcut keys Photoshop offers and also programing my Wacom Intuos 4. I must admit it has helped. Not only is it helping with speeding up repetitive key stokes but also with my body mechanics on the computer.  One shortcut key that I have found particularly useful is for changing Photoshop Blending Modes in the Layers Palette. I often find I do an edit on a New Layer, but the Normal Blending Mode just doesn’t look right. By toggling thru the various different Photoshop Blending Modes, my art takes on a different look. To utilize this function, first select the Move Tool (first one on the Photoshop Toolbar), then press the Shift and + (plus) key to toggle through all of the different blending modes. You can also use the Shift and – (minus) key to reverse the order.

There are many shortcut keys preassigned in Photoshop. You can do a quick search on the internet to find a list. In Adobe Photoshop you can also go to Edit>Assign Shortcut Keys to view or change any shortcut key. It is one of those administrative tasks that does pay off with saving time during the editing stage of your images.

Happy Editing!

More of my work can be viewed on my website, Susan McAnany Photography.


Chromatic Aberration Removal

Sometimes Chromatic Aberration is noticeable on an image and a technique is needed for Chromatic Aberration Removal.  You may be asking what is Chromatic Aberration, so let me explain.  It is often found in images where there is an extreme contrast between the light and dark colors and/or highlight and shadows. The dynamic range and sensors on most cameras  just cannot record the two extremes, thus purple fringing occurs or sometime it comes in the form of green or red contamination on the darker color.

Here is a great technique I stumbled upon today to remove Chromatic Aberration using Photoshop CS5.

Here is one method for removing chromatic aberration:

1) Open the image in Photoshop CS5 and copy the Background Layer (CMD-J).

2)  Go to Filter > Blur > Gaussian Blur.  You can experiment with the amount of pixels here, but I had good luck using 15 pixels.

3)  Change the Blend Mode on the Layer to Color.

4)  Add a Mask to the Layer and then invert the Mask.  (CMD-I)

5) Paint with White to areas where you want to remove the CA. If you apply too much, change to Black and paint to remove.  Also, using the Opacity slider on the brush will help  control the intensity of the filter.

I also read  Lightroom 4 has a great tool to remove CA. I guess I will put that piece of software on my Wish List.

The more I learn about photography,  Photoshop and art the more I find I need and want to learn.

Happy Post Processing!

Visit my website, Susan McAnany Photograpy, to view my work.

Just a quick update to this post. I have used this technique also with Photoshop CS6.


wall art of folded usa flag

Welcome July

July is the month of much celebration during the summer. The obvious holiday of  July 4th and also my birthday occurs during the month of July. I will be away for the first half of the month and plan on bringing back  images to share with you. Although I shot this image a few years back, it is one of my favorite flag images. I have a great giclée print  available if anyone is interested. You can contact me through my website susanmcanany.com.  It is for sale online at my Etsy Store.  Thanks for visiting.


July wall art of folded usa flag

© 2008 Susan McAnany