I don’t know if it is COVID or all the hype regarding the post office, but it seems people are having a flash to the past and letter writing once again. Personally, I find letter writing to be a very personal, intimate way to reach out to someone. To hand write a note shows a concern and interest well beyond sending an email or text. You are sending a person a bit of your handwriting, however neat or sloppy it may be. It will be something that someone may cherish for a long time and perhaps if you have children and grand children the card or letter will be passed through the generations. I know I am still thrilled when I find a note or card with a message from my Mom. Something about seeing her handwriting is very comforting.
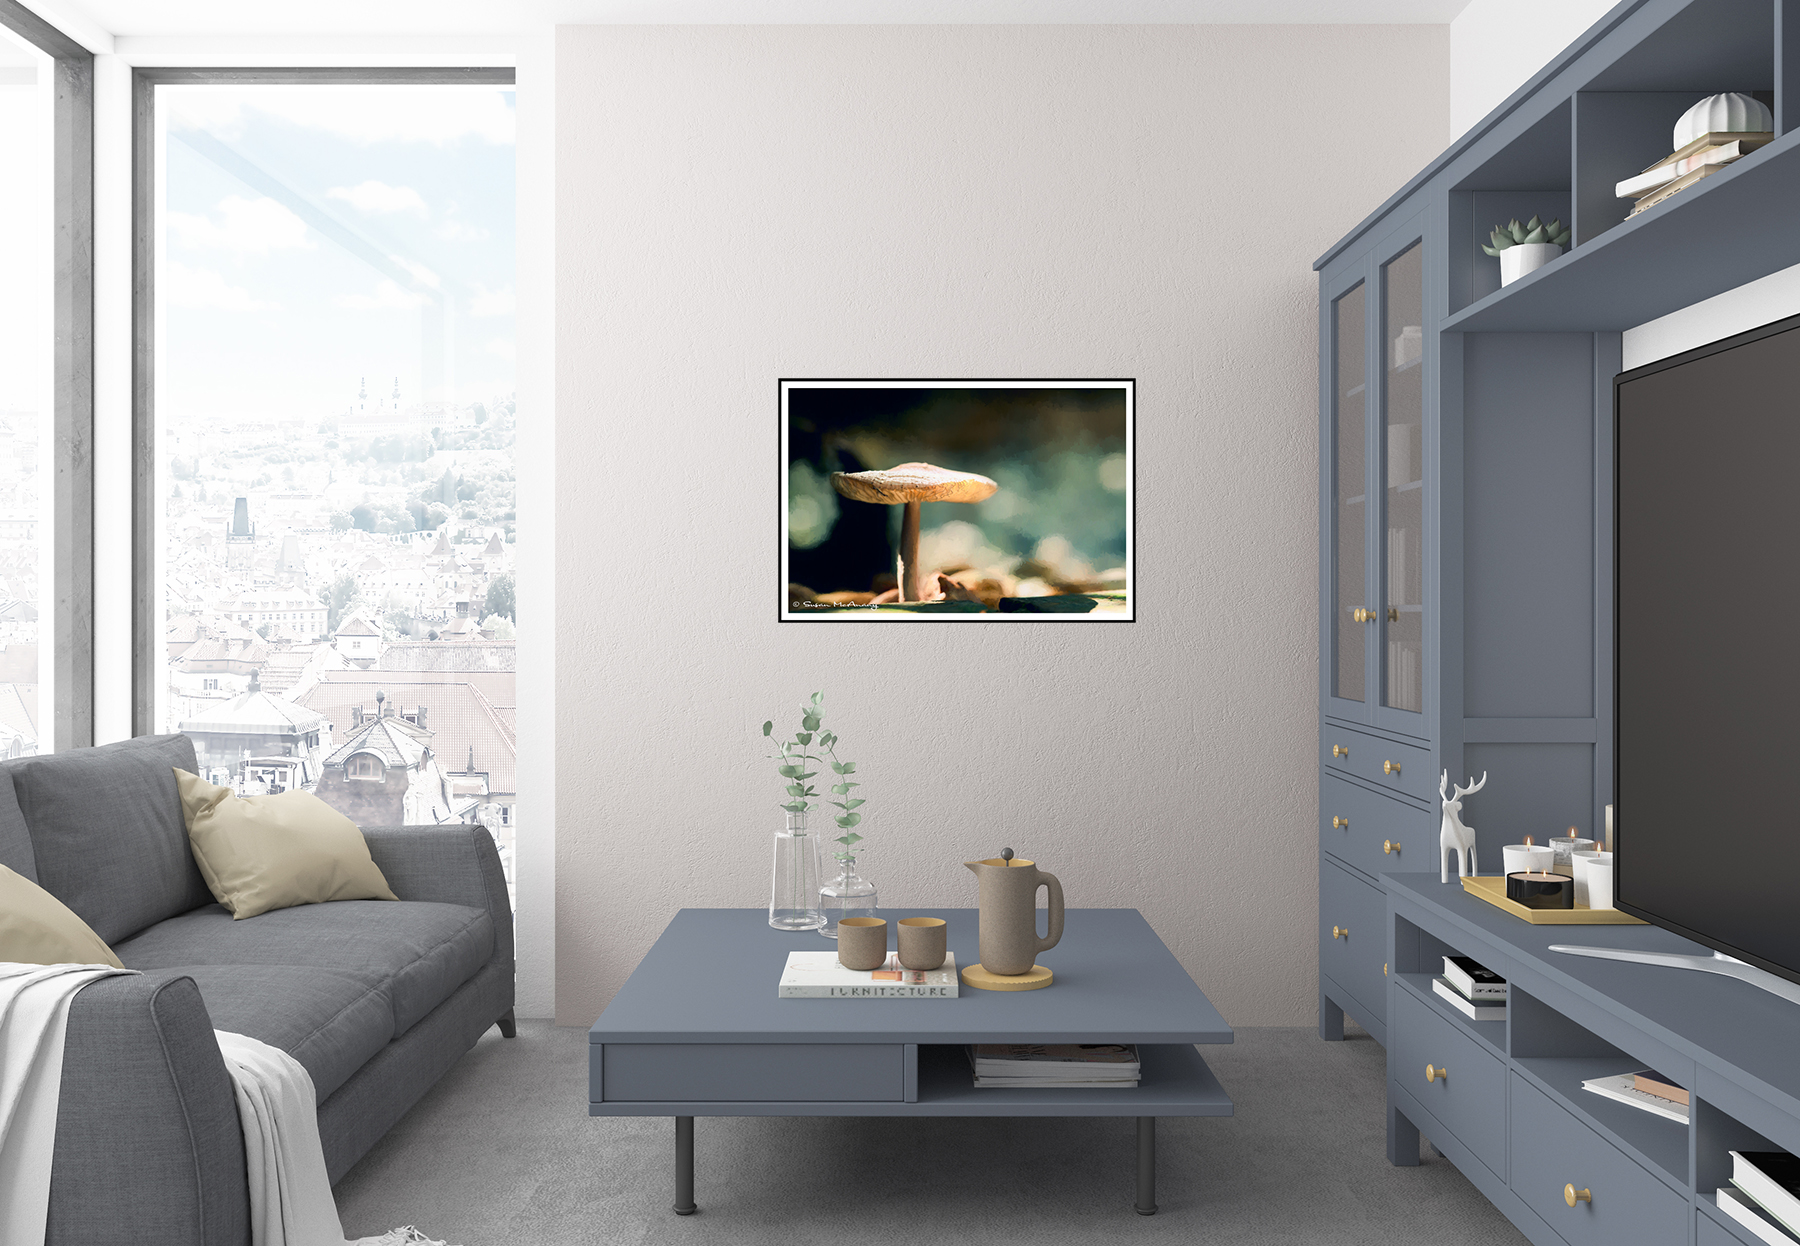
Taking all that into consideration, I have launched a line of Greeting Cards at my Etsy shop that I have written about in previous post. Recently, I have also added Greeting Card sets to increase your choices for letter writing. These sets offer a wide variety of cards from black and white to nature and architecture. I even have a couple of different and quirky sets for anyone looking for something more out of the box. All of these images come from some of my most popular fine art prints and stock images.
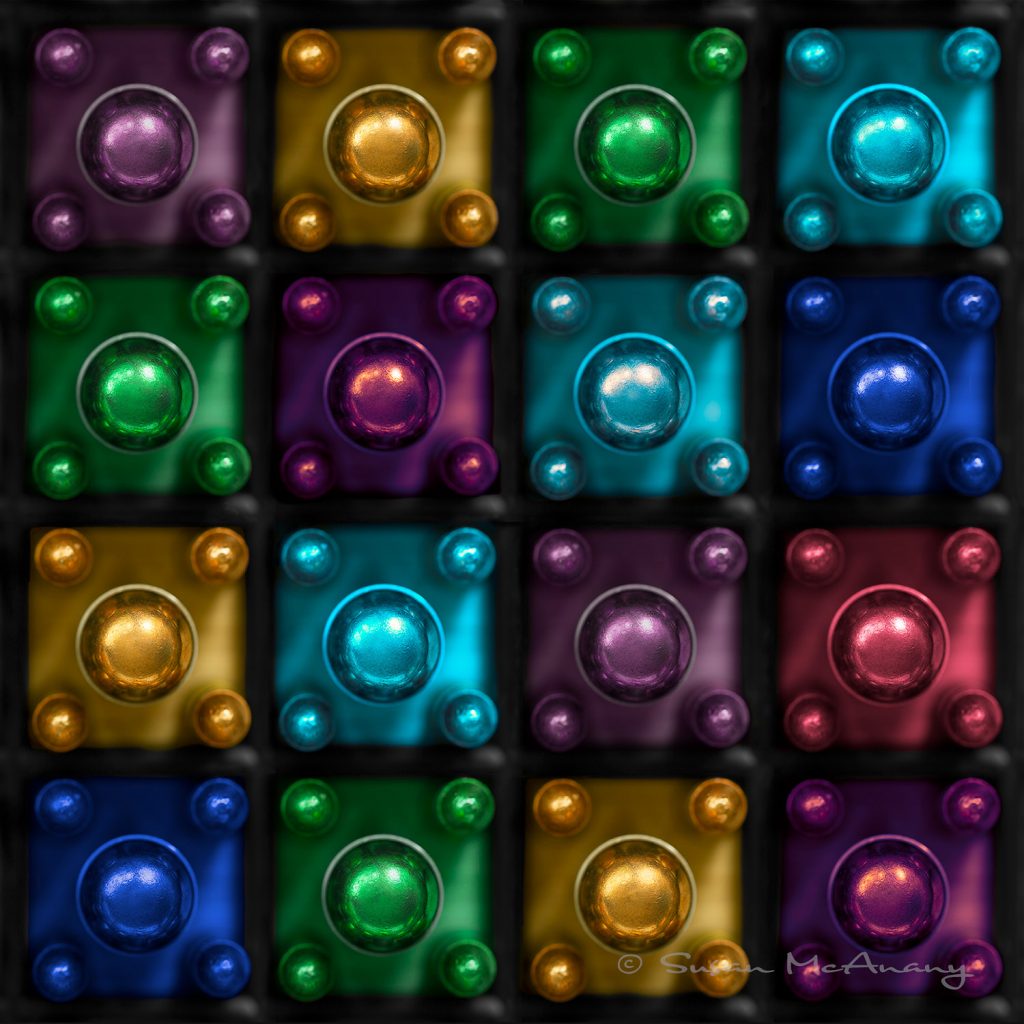
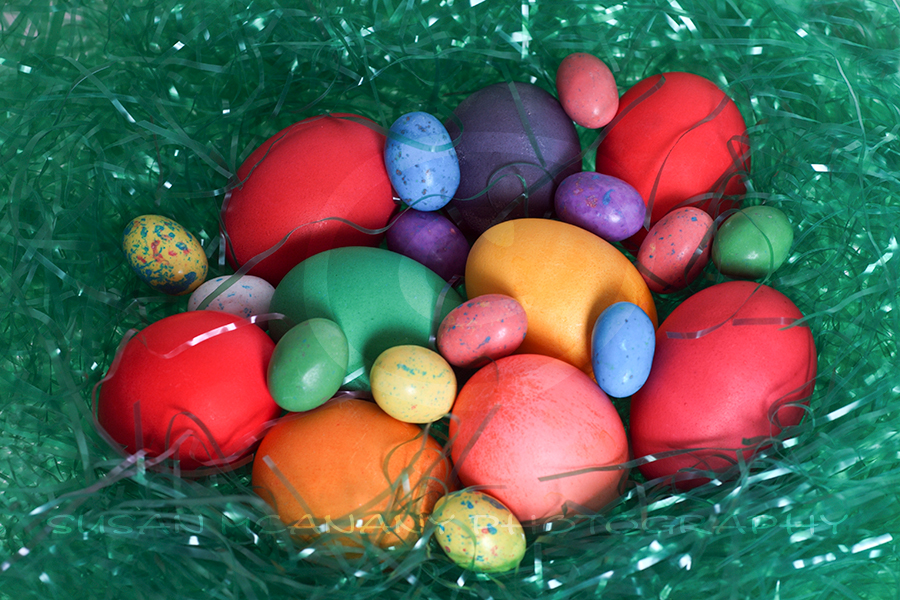
Edibles Greeting Card Set
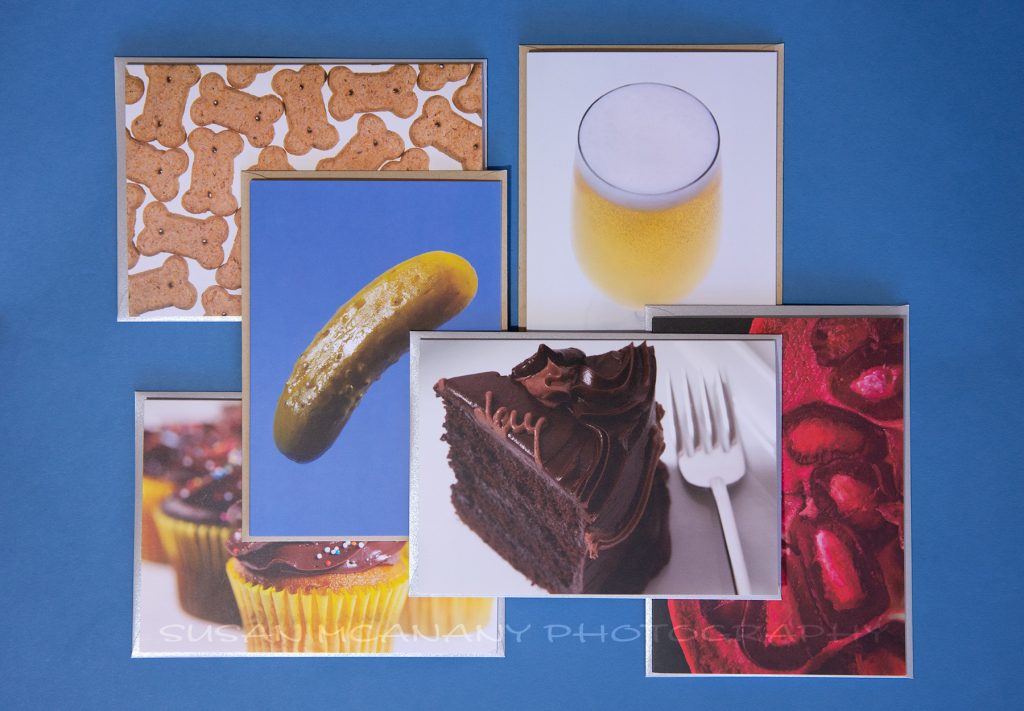
These Greeting Cards are professionally printed on 60 lb matte paper. They measure 4.13 x 5.83 inches and come with a blank interior ready for your personal note or message. They make a great gift or awesome for personal use.
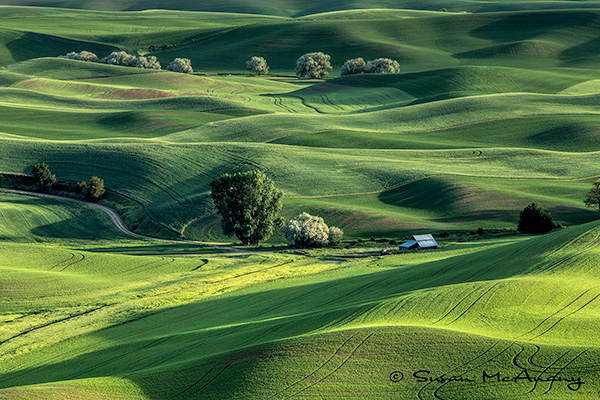
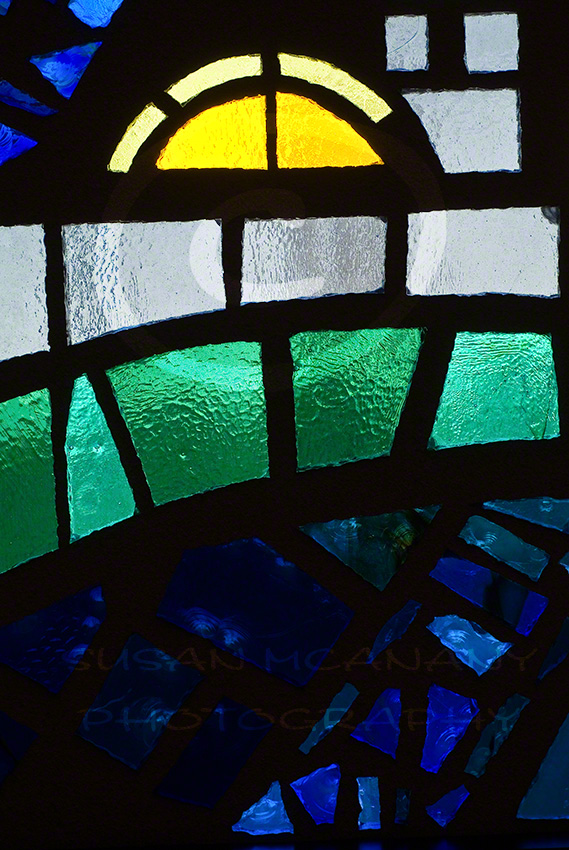
Nature Greeting Card Set
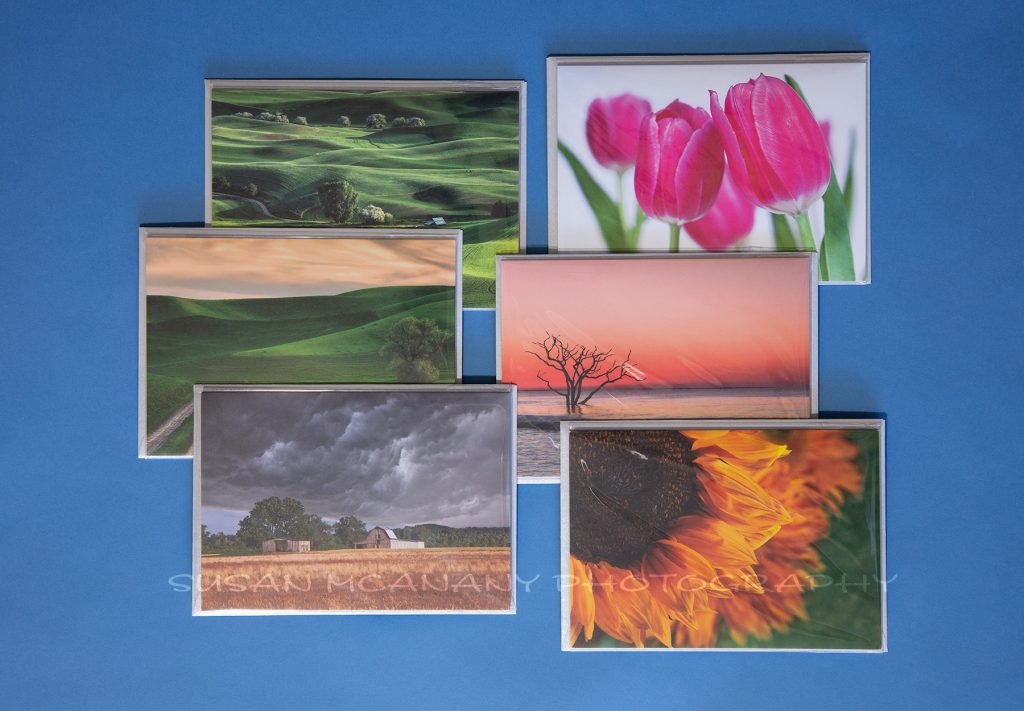
Nature Greeting Card Set comes with six beautiful nature scenes from rural barns to coastal landscapes and close up of cheery tulips and sunflower. Each card is packaged in a cello protector. All six of these scenes are horizontal orientation and come with silver envelopes.
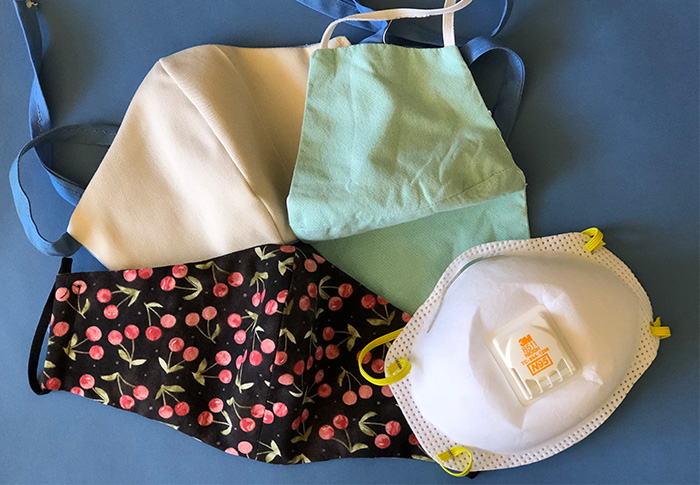
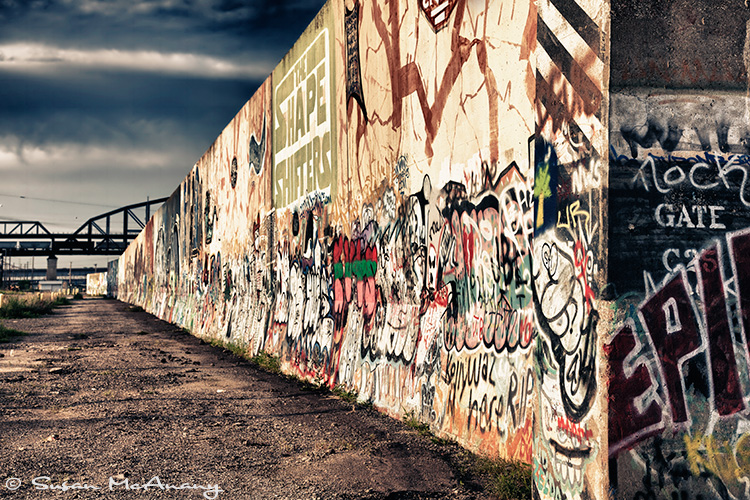
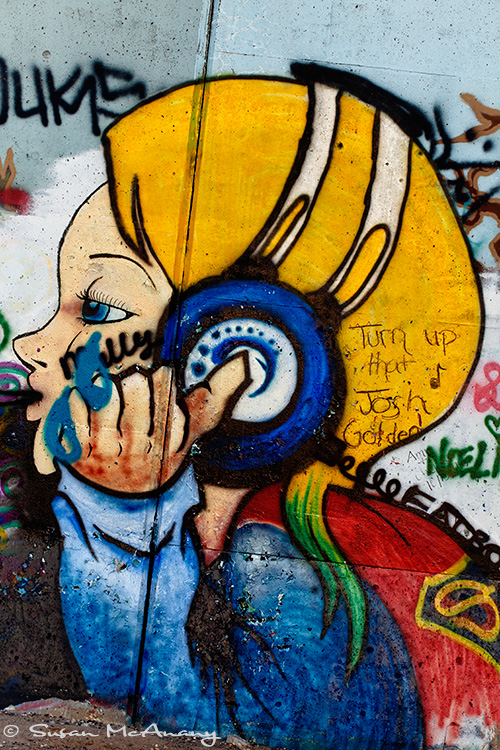
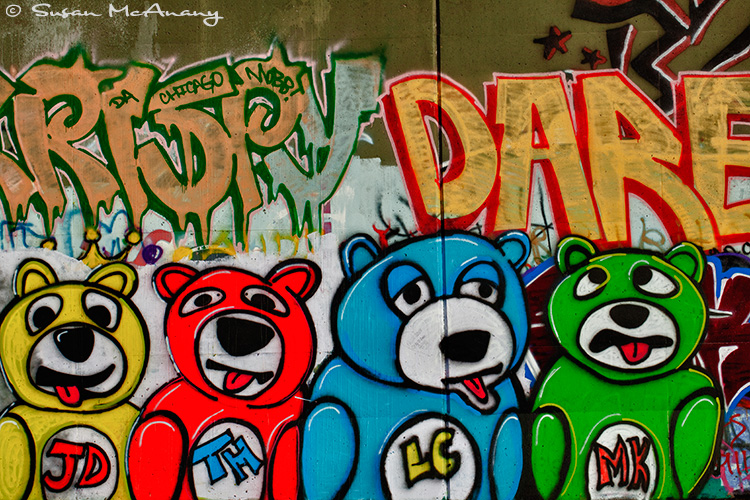
Quirky Greeting Card Set
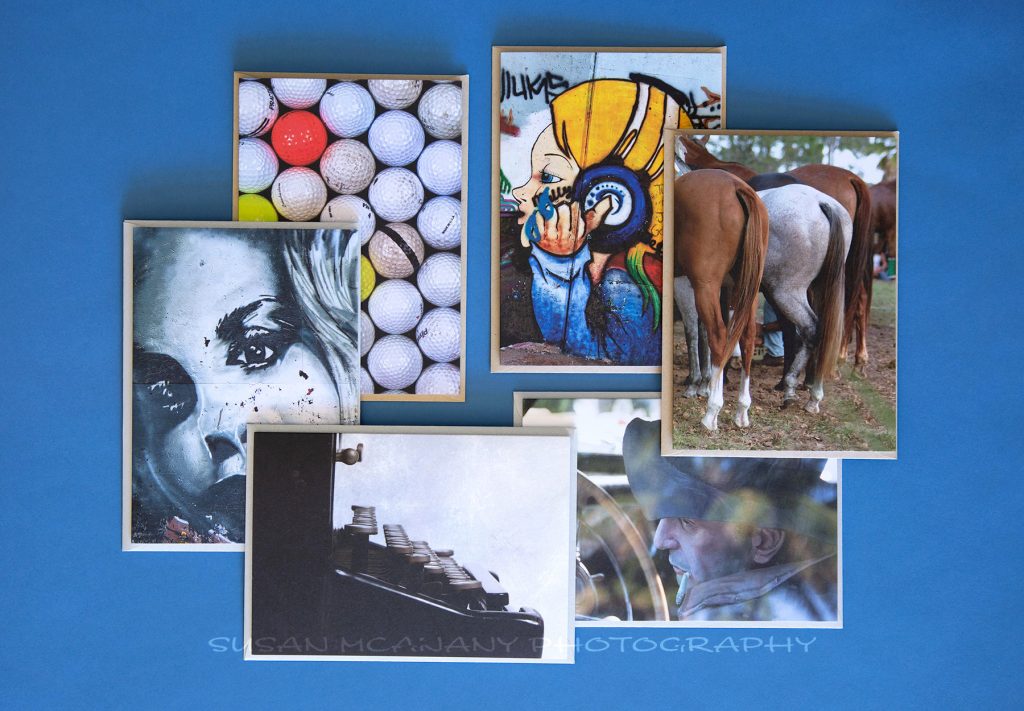
This greeting card set includes some unique and quirky images including the fine art images of “Golf Meeting”, “Female Studio Sound” and “Runaway”. Also are three other images from my extensive photo library, included an all time favorite “Horses Asses”.
I hope you too have caught on to the flash from the past letter writing craze. If not please consider making someones day by sending them a personalized greeting note card. I am sure they will be tickled. Check out my Etsy store to see other Greeting Card Sets and individual Greeting Cards.
Thanks for stopping by!